whatisthis?
javaScript. Painting App 구현 - (4) Change Color 본문
javaScript. Painting App 구현 - (3) 2D context
controls__r.." data-og-host="mywebproject.tistory.com" data-og-source-url="htt.." data-og-host="mywebproject.tistory.com" data-og-source-url="https://mywebproject.tistory.com/297" data-og-url="https..
mywebproject.tistory.com
지난 회차 진행사항
- 2D context 이용 (canvas.getContext('2d'))
- 페인팅 구현 ( path와 line 생성)
function onMouseMove(event) {
    const x = event.offsetX;
    const y = event.offsetY;
    if(!painting) {
        ctx.beginPath();
        ctx.moveTo(x, y);
        console.log('creating path in', x, y);
    } else {
        ctx.lineTo(x, y);
        ctx.stroke();
        console.log('creating line in', x, y);
    }
}
이해를 위해 콘솔에 찍어보면 다음과 같다.
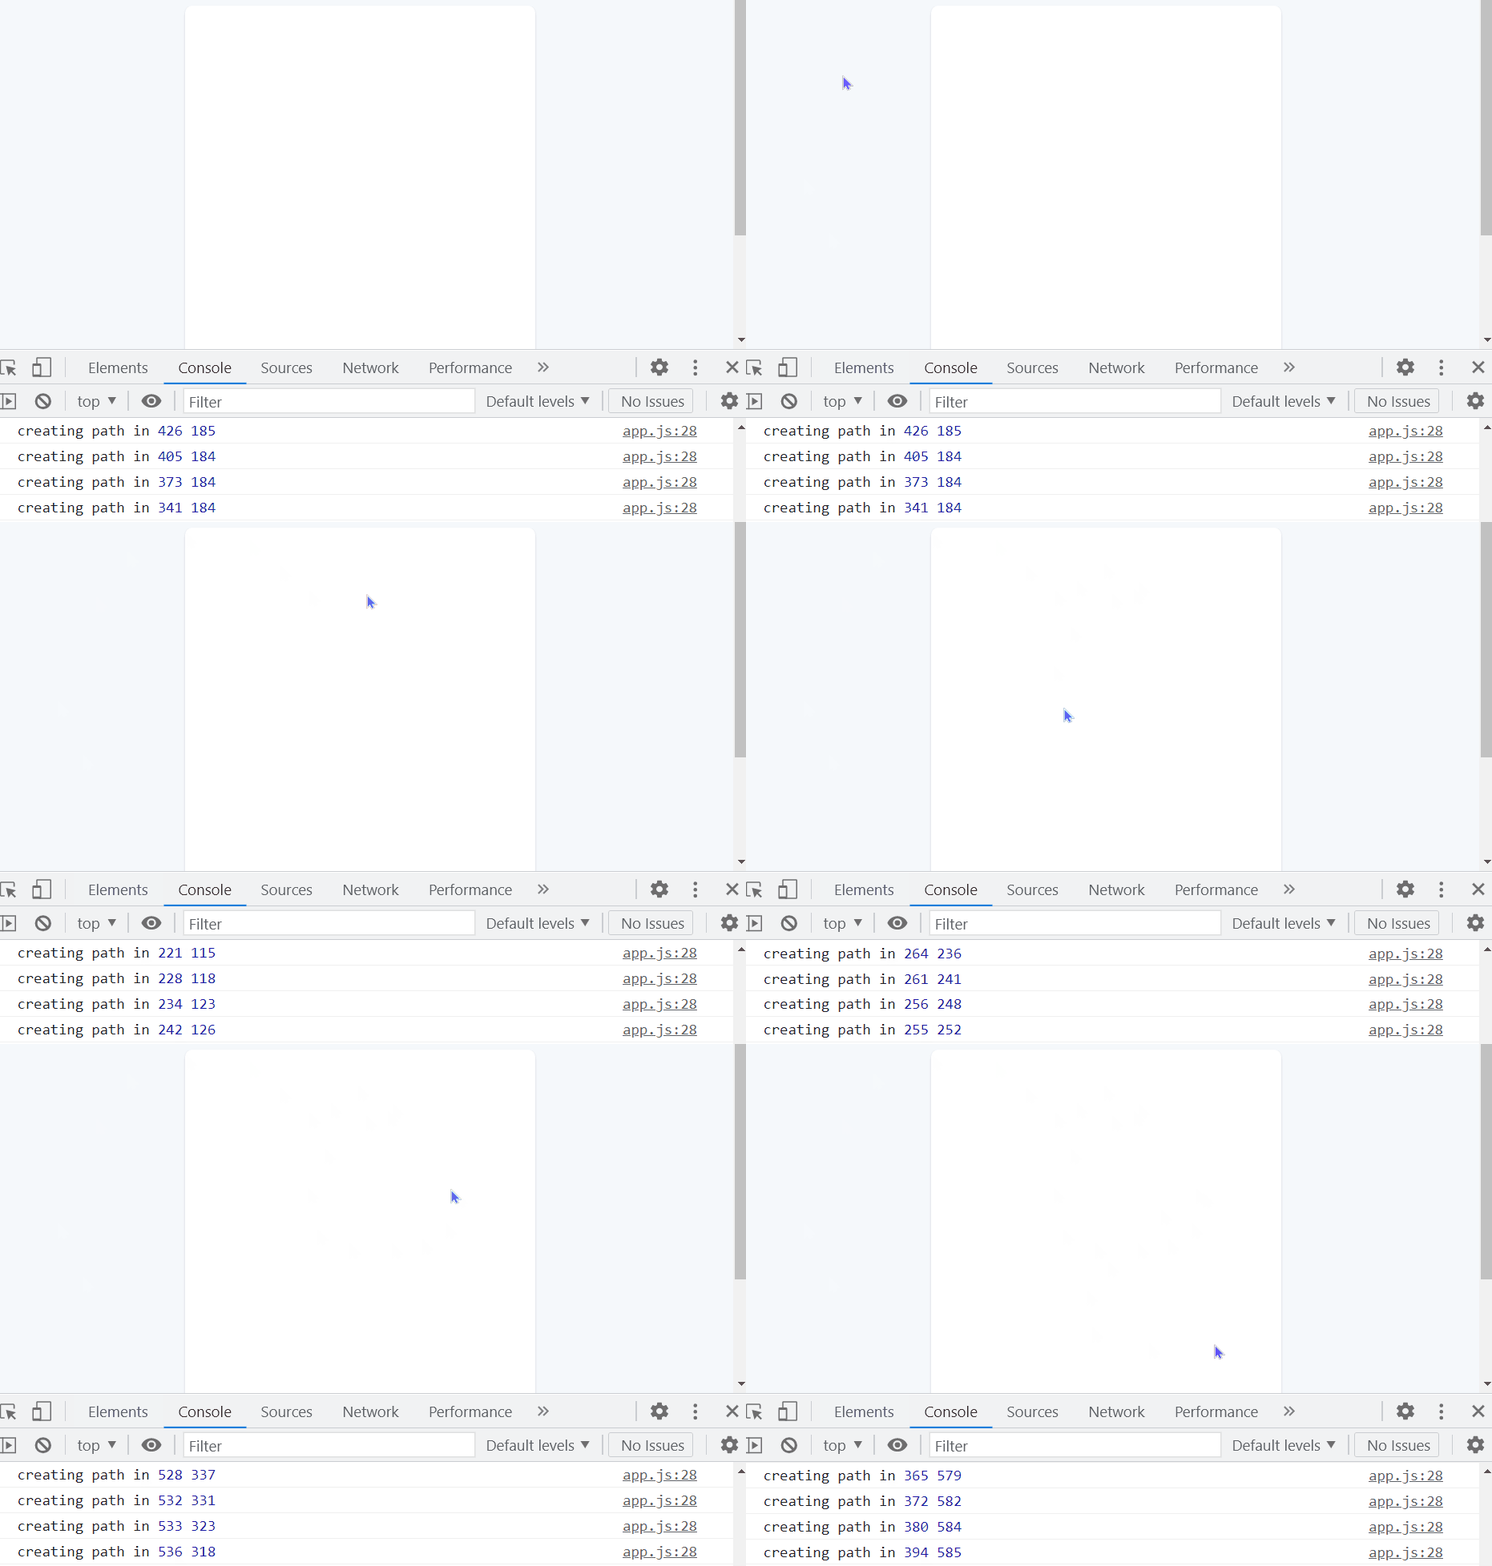

let painting = false;
if (painting === false) {
//경로를 만든다.
} else {
//그린다.
}
아래와 같음.
if (!painting) {
//경로를 만든다.
} else {
//그린다.
}
CanvasRenderingContext2D - Web APIs | MDN
The CanvasRenderingContext2D interface, part of the Canvas API, provides the 2D rendering context for the drawing surface of a <canvas> element. It is used for drawing shapes, text, images, and other objects.
developer.mozilla.org
ctx.beginPath(); //경로 생성(시작)
ctx.moveTo(x, y); //선 시작 좌표
ctx.lineTo(x, y); //선 끝 좌표
ctx.stroke(); //선 그리기 (current sub-path)
Change color
수정전 🔻
const canvas = document.getElementById("jsCanvas");
const ctx = canvas.getContext("2d");

canvas.width = document.getElementsByClassName("canvas")[0].offsetWidth;
canvas.height = document.getElementsByClassName("canvas")[0].offsetHeight;

// Default
ctx.strokeStyle = "#2c2c2c";
ctx.lineWidth = 2.5;


let painting = false;

function stopPainting() {
    painting = false;
}

function startPainting() {
    painting = true;
}

function onMouseMove(event) {
    const x = event.offsetX;
    const y = event.offsetY;
    if(!painting) {
        ctx.beginPath();
        ctx.moveTo(x, y);
        console.log('creating path in', x, y);
    } else {
        ctx.lineTo(x, y);
        ctx.stroke();
        console.log('creating line in', x, y);
    }
}

function onMouseDown(event) {
    painting: true;
}


if (canvas) {
    canvas.addEventListener('mousemove',onMouseMove);
    canvas.addEventListener('mousedown', startPainting);
    canvas.addEventListener('mouseup', stopPainting);
    canvas.addEventListener('mouseleave', stopPainting);
}
우선, classname으로 여러개의 코드를 불러온다.
참고로, index.html에서
<div class="controls__colors" id='jsColors'>
<div class="controls__color jsColors" style="background-color: #2c2c2c;"></div>
<div class="controls__color jsColors" style="background-color: #fff;"></div>
<div class="controls__color jsColors" style="background-color: #FF3B30;"></div>
<div class="controls__color jsColors" style="background-color: #ff9500;"></div>
<div class="controls__color jsColors" style="background-color: #FFCC00;"></div>
<div class="controls__color jsColors" style="background-color: #4CD963;"></div>
<div class="controls__color jsColors" style="background-color: #5AC8FA;"></div>
<div class="controls__color jsColors" style="background-color: #0579FF;"></div>
<div class="controls__color jsColors" style="background-color: #5856D6;"></div>
</div>class=jsColors는 위와 같은 div들이다.
const colors = document.getElementsByClassName("jsColors")jsColors라는 클래스를 가진 요소를 다 가져오면
getElementsByClassName을 사용할땐
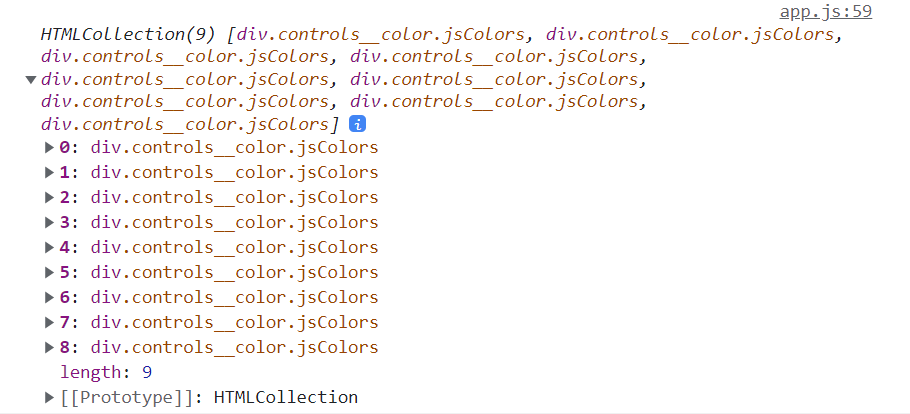
위와 같이 'HTML Collection'이라고 뜬다.
참고로, querySelectorAll을 사용하면 (그냥 querySelector은 첫번째 것만 가져옴)
배열처럼 사용할 수 있는 Node List가 나온다.
HTML collection 말고 배열로 바꾸기 위해서
Array.from() 메소드를 사용하자.
💡 Array.from
- 유사 배열 객체(array-like object)나 반복 가능한 객체(iterable object)를 얕게 복사해 새로운Array 객체를 만듬.
** 유사 배열 객체 (length 속성과 인덱싱 된 요소를 가진 객체)
** 순회 가능한 객체 (Map, Set 등 객체의 요소를 얻을 수 있는 객체)
console.log(Array.from(colors));
이제 위처럼 array 형식으로 바뀐 것을 알 수 있다.
각 요소를 클릭해보면
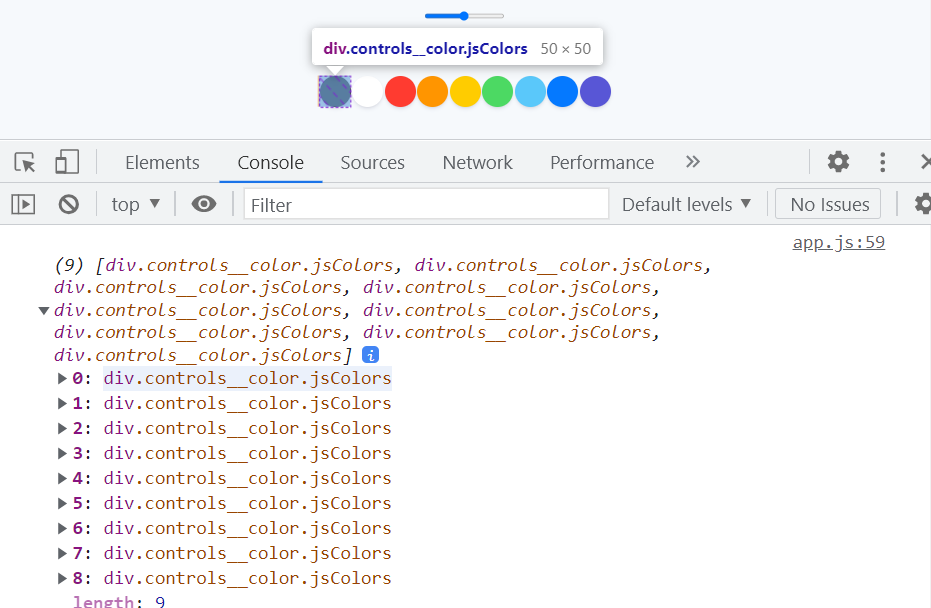
Array.from(colors)의 첫번째 요소는 위와 같다.
이렇게 각 div들이 배열에 담긴 것을 알 수 있다.


Array.from(colors).forEach(color => color.addEventListener("click", handleColorClick));Array.from(colors) 는 배열이고, 배열의 각 아이템이 색상div를 가리킨다.
>> 배열이므로 배열의 메소드 사용 가능
각 아이템마다 콜백을 실행해주는 반복문인 forEach문을 사용했다.
forEach(color => color.addEventListener("click", handleColorClick));
을 해주었다.
color은 임의로 정해준 각 아이템의 이름이다.
즉, 각 아이템에 이벤트리스너를 add해준다.
(어떤것을 클릭해도 handleColorClick 함수가 실행된다.)

지금까지의 코드 🔻
app.js
const canvas = document.getElementById("jsCanvas");
const colors = document.getElementsByClassName("jsColors")
const ctx = canvas.getContext("2d");


canvas.width = document.getElementsByClassName("canvas")[0].offsetWidth;
canvas.height = document.getElementsByClassName("canvas")[0].offsetHeight;


// Default
ctx.strokeStyle = "#2c2c2c";
ctx.lineWidth = 2.5;


let painting = false;

function stopPainting() {
    painting = false;
}

function startPainting() {
    painting = true;
}

function onMouseMove(event) {
    const x = event.offsetX;
    const y = event.offsetY;
    if(!painting) {
        ctx.beginPath();
        ctx.moveTo(x, y);
        console.log('creating path in', x, y);
    } else {
        ctx.lineTo(x, y);
        ctx.stroke();
        console.log('creating line in', x, y);
    }
}


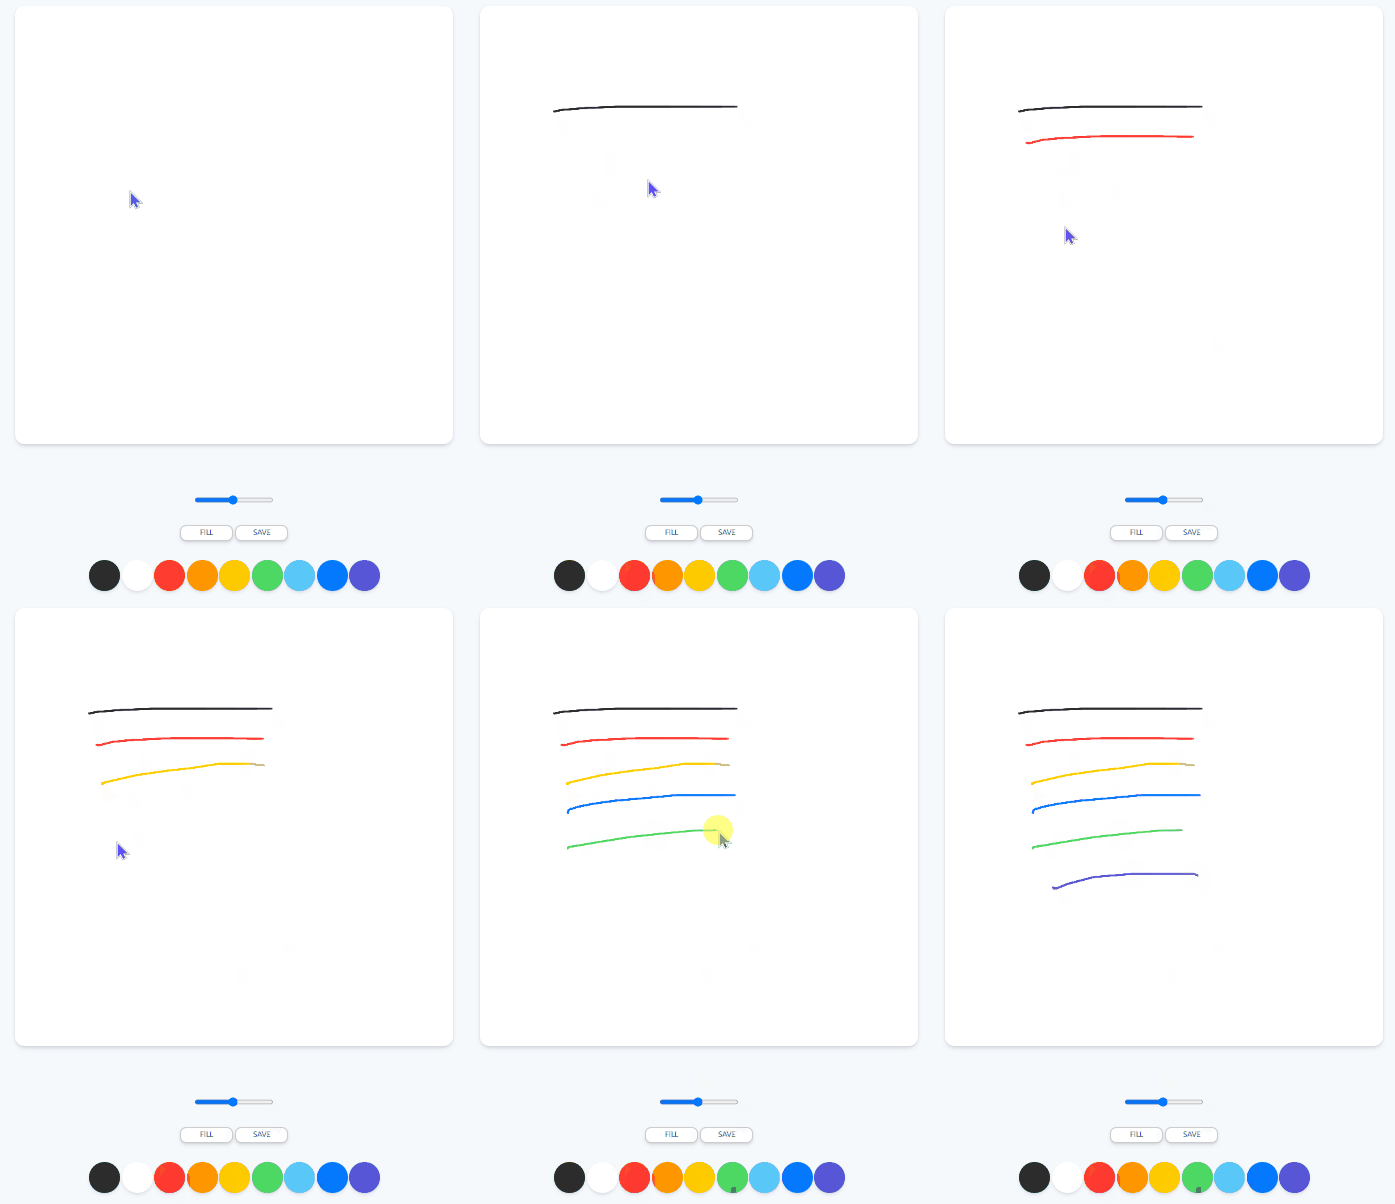
function handleColorClick(event) {
    const color = event.target.style.backgroundColor;
    ctx.strokeStyle = color;
}


if (canvas) {
    canvas.addEventListener('mousemove',onMouseMove);
    canvas.addEventListener('mousedown', startPainting);
    canvas.addEventListener('mouseup', stopPainting);
    canvas.addEventListener('mouseleave', stopPainting);
}


Array.from(colors).forEach(color => color.addEventListener("click", handleColorClick));
다음 포스팅은
브러쉬 사이즈 조절 (input type="range"의 value를 이용함)
미리해보기 🔻
const range = document.getElementById("jsRange");

function changeSize(event) {
    const size = range.value;
    ctx.lineWidth = size;
}

range.addEventListener('input', changeSize);
REFERENCE
Nomadcoder - Free Course
'PRACTICE > SELF' 카테고리의 다른 글
| javaScript. Painting App 구현 - (6) Fill mode (0) | 2022.02.03 |
|---|---|
| javaScript. Painting App 구현 - (5) Brush Size (1) | 2022.02.02 |
| javaScript. Painting App 구현 - (3) 2D context (0) | 2022.02.02 |
| javaScript. Painting App 구현 - (2) Canvas Event (0) | 2022.02.02 |
| javaScript. Painting App 구현 - (1) HTML/CSS (0) | 2022.02.02 |
